Create Your First AI Assistant
Follow this guide to build a powerful AI assistant that can help your users with their questions and tasks.Prerequisites
Before creating your assistant, make sure you have:- An active IllumiChat account
- Content ready for your knowledge base (optional but recommended)
- A clear understanding of your assistant’s purpose
Step 1: Access the Assistant Builder
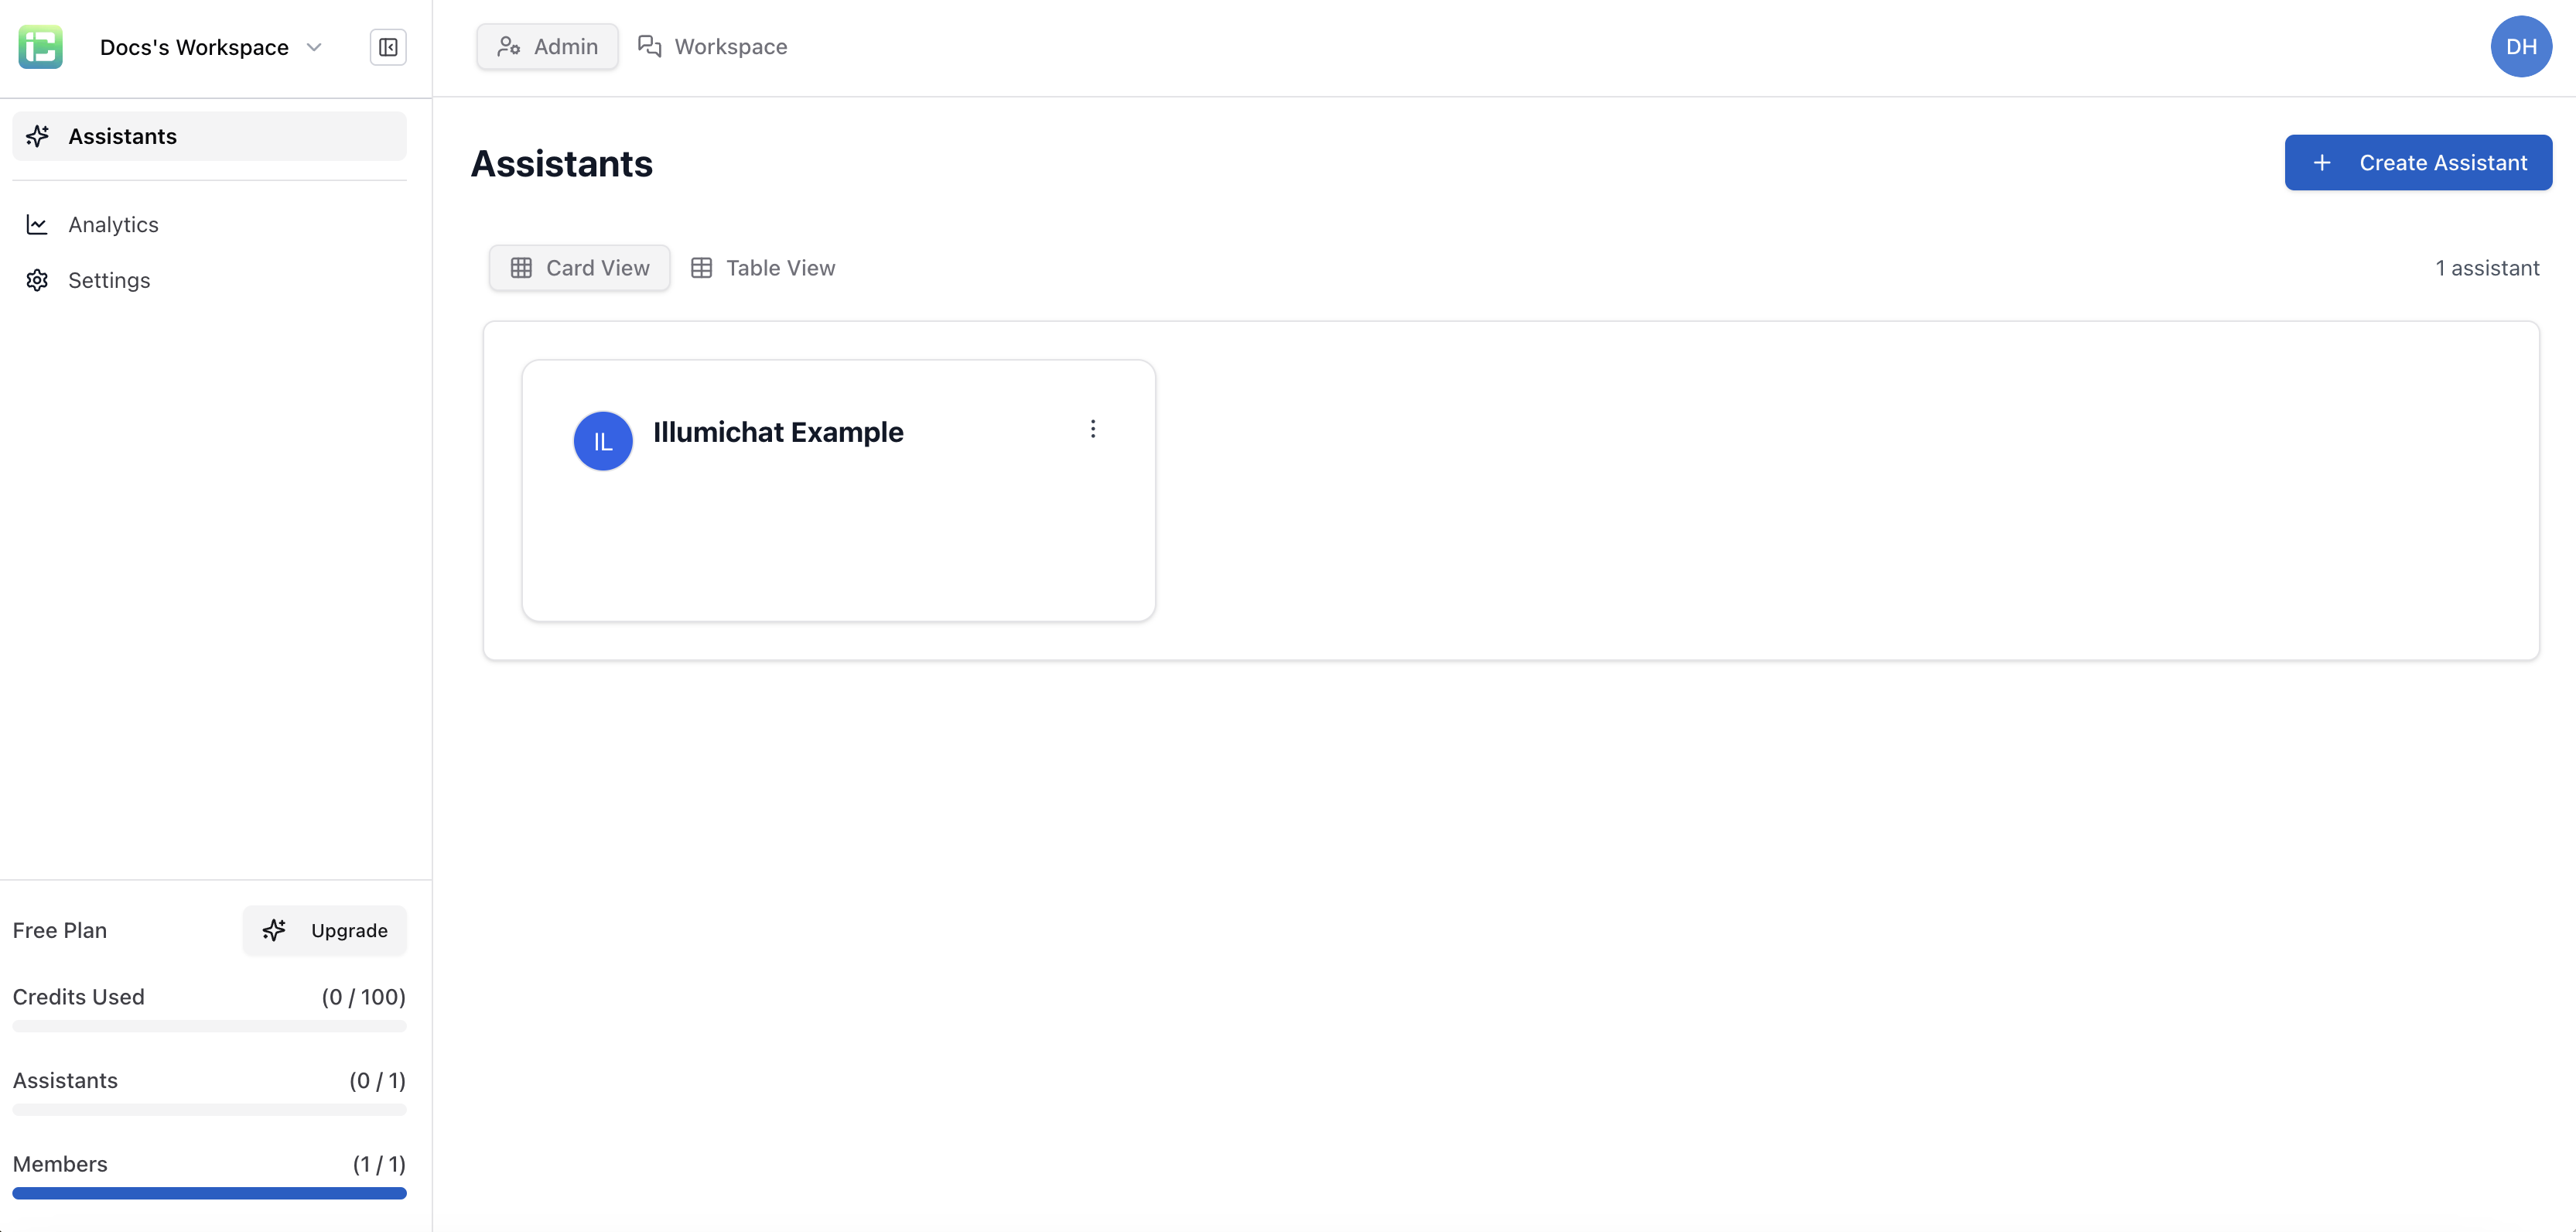
- Log in to your IllumiChat dashboard
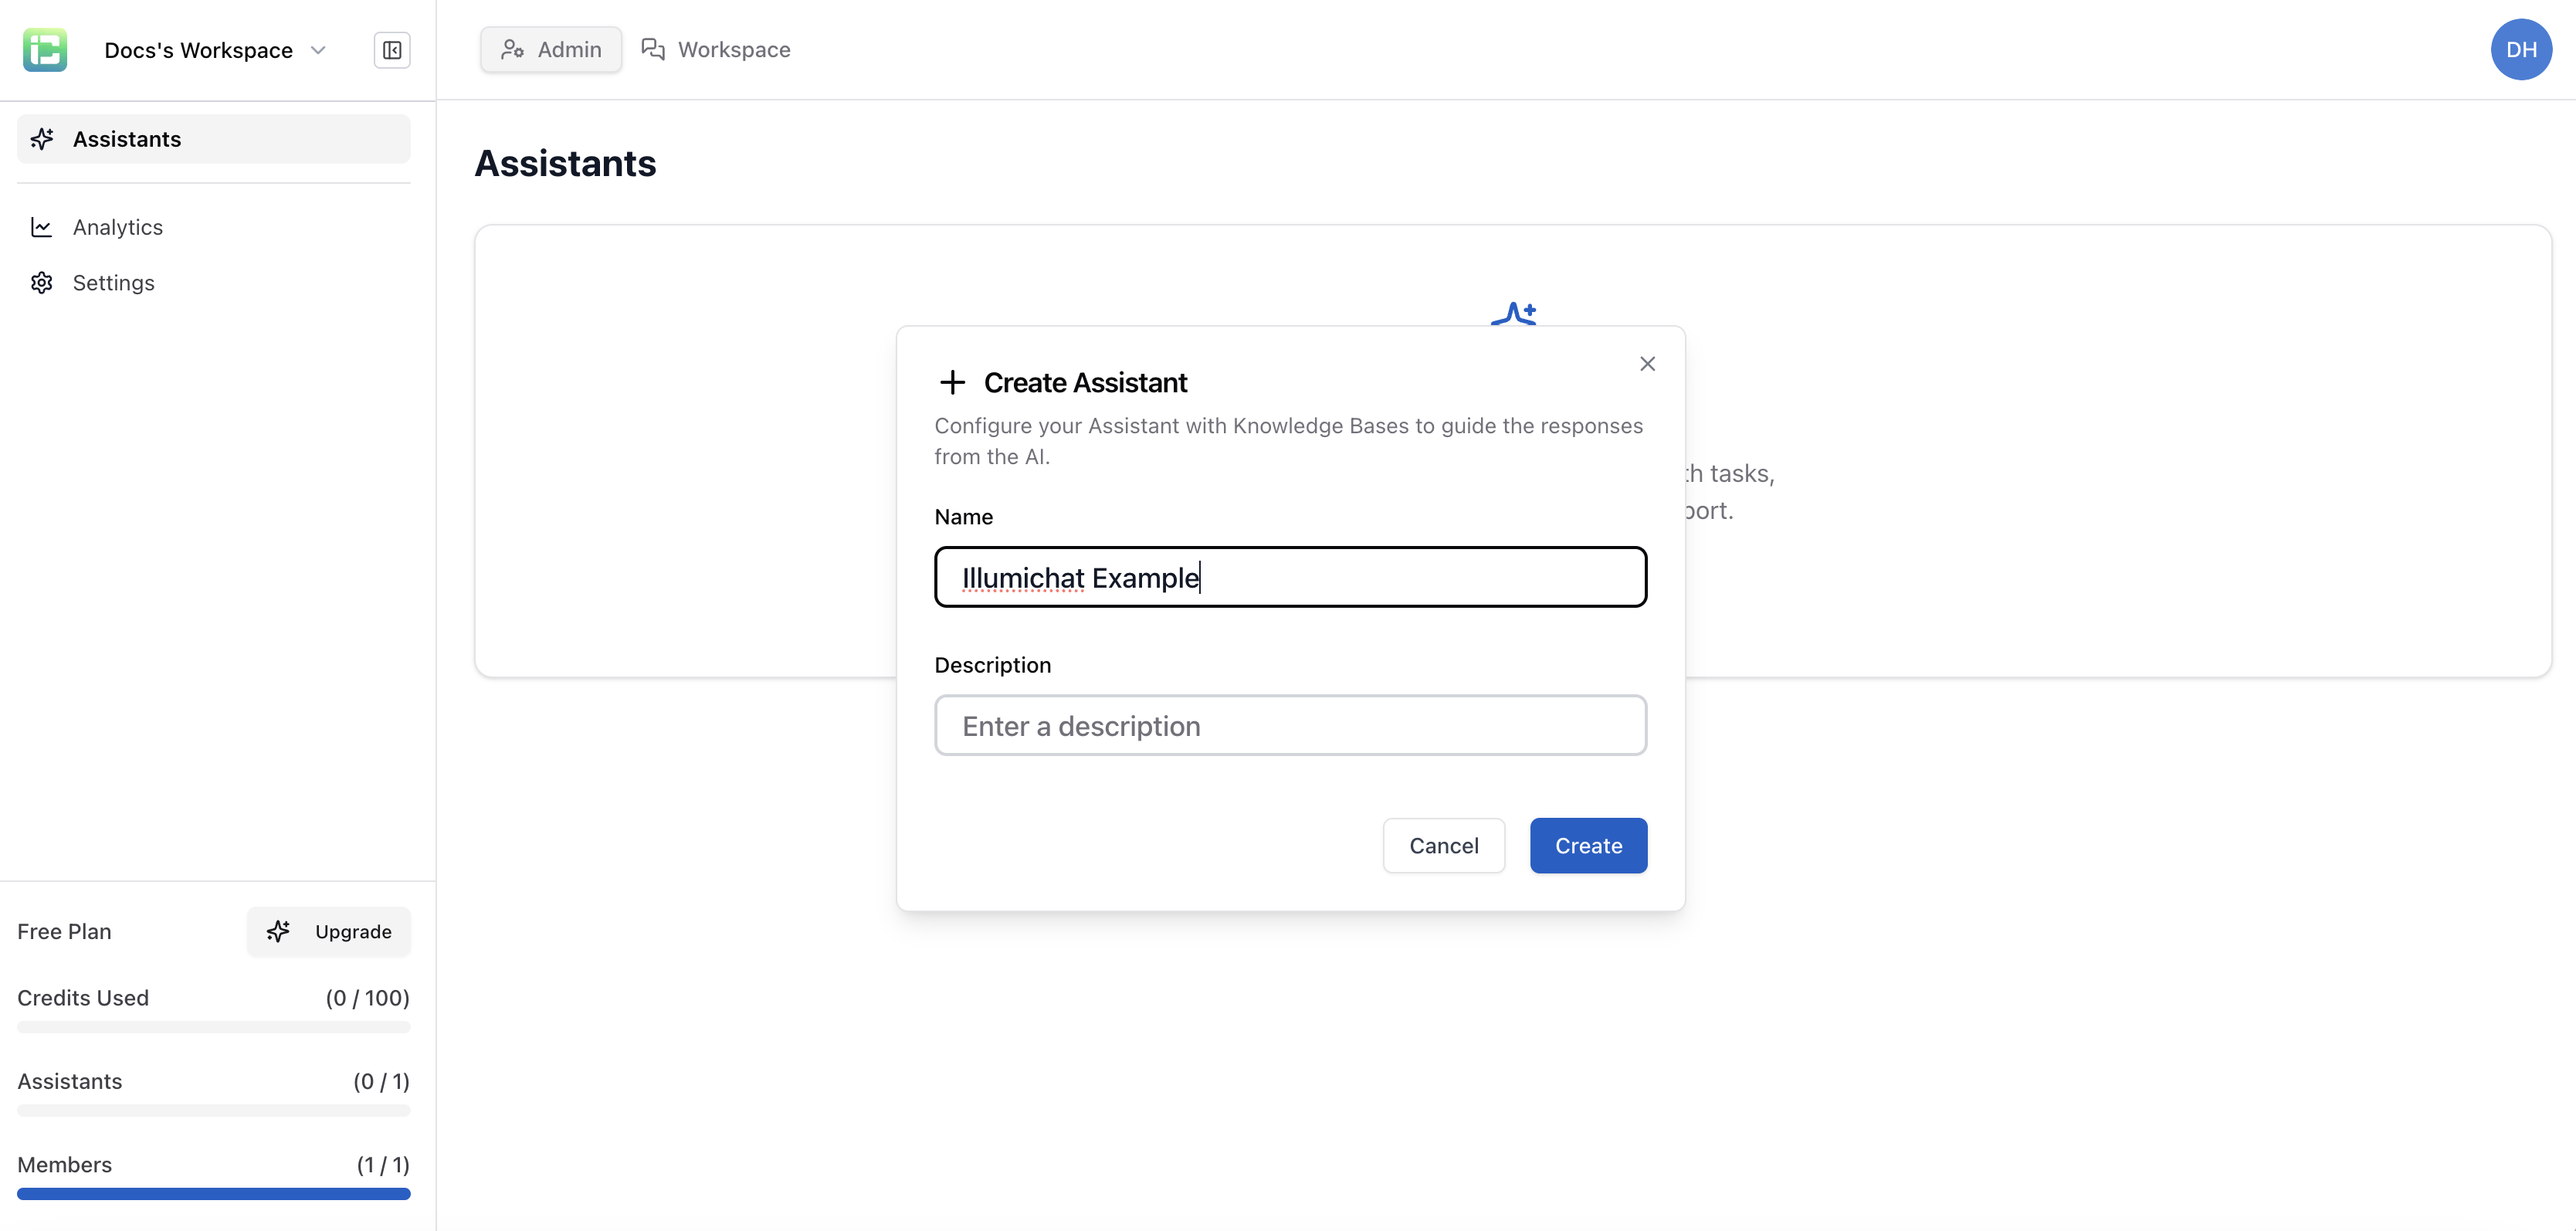
- Click “Create Assistant” from the main dashboard
- You’ll be taken to the assistant creation wizard
Step 2: Configure Your Assistant
Your assistant has several configuration tabs to customize its behavior and appearance:Configuration Tab
Model Selection
Select the AI model for your assistant. Available models:
- OpenAI GPT-4o
- OpenAI GPT-4.1
- OpenAI GPT-5
- OpenAI GPT-o3
- Google Gemini 2.0 Flash
Strict Mode
When enabled, the assistant will only respond using information from the connected knowledge base.
In normal mode, you can configure Trigger Keywords on the connected knowledge base to automatically start a KB search when those words or phrases appear in user messages.
Trigger Keywords
Add words or phrases that, in normal mode, will automatically trigger a knowledge base lookup.
Instructions
Define your assistant’s role, operating guidelines, and response style. You can use templates or write custom instructions (optional).
Standard AI Assistant Template:
- Role Definition: Responsive, intelligent AI assistant
- Operating Guidelines: Respect boundaries, stay in scope, honor knowledge constraints
- Positive Closures: End with supportive closing remarks
Professional Customer Support Assistant:
- Name: “TechSupport Pro”
- Description: “Expert technical support assistant for software troubleshooting”
- Tone: Professional
- Style: Helpful
- Expertise: Advanced
Knowledge Base Tab
Manage the knowledge base connected to this assistant. Knowledge bases provide context and information that help your assistant give more accurate responses.Create Knowledge Base
Create a knowledge base specifically for this assistant. It will be automatically connected and ready to use.
Creating a knowledge base through this tab will:
- Automatically connect it to this assistant
- Make it immediately available for use
- Allow you to manage it from the Configuration tab
No Knowledge Base Connected
If no knowledge base is connected, you’ll see:- “No Knowledge Base Connected” message
- “Create Knowledge Base” button
Tools Tab
Tools allow the agent to get up to date information from the apps you work in.Available Integrations
Atlassian (Jira & Confluence)- Access Jira issues and Confluence pages with official Atlassian MCP server
- Connect button to enable integration
- CRM and marketing automation
- Connect button to enable integration
Step 5: Test Your Assistant
Before deploying, thoroughly test your assistant:
Test Scenarios
- Basic Questions: Test common queries about your content
- Edge Cases: Try unusual or complex questions
- Boundary Testing: Test what your assistant won’t do
- Conversation Flow: Test multi-turn conversations
Refine Responses
Based on testing, you may need to:- Add more knowledge content
- Adjust instructions and role definition
- Modify strict mode settings
- Update trigger keywords
Style Tab
Customize the appearance and messaging of your assistant:Images & Icons
Profile PictureUpload image (supports JPG, PNG with cropping, and SVG files up to 1MB)
Upload image (supports JPG, PNG with cropping, and SVG files up to 1MB)
Content & Messaging
Display NameName that appears at the top of the chat widget.
Greeting message that appears when the chat opens (max 500 characters).
Quick response options for users (max 5 messages).
Auto show initial message popup after this many seconds. Use -1 to disable.
Basic Styling
Brand ColorYour branding color, will be used for chat bot bubble on your website.
Background color of the chat widget.
Background color for user message bubbles.
Position of the chat widget on your website.
Footer Settings
Show “Powered By IllumiChat”Display “Powered By IllumiChat” in the chat footer.
Custom message to display in the chat footer (max 200 characters).
Share Tab
Choose how you want to share your assistant:Private Sharing
- Invite specific users to access your assistant
- Invite by email
- Control access permissions
- User authentication required
Public Sharing
- Anyone with the link can access your assistant
- Share via public link
- Embed in websites
- No login required
Private Sharing Options
Manage user access and permissions for your assistant:- All Members Access: Allow all campus members to access this assistant
- Assistant Access: Manage who can access this assistant. Admins have access to all assistants by default.
- Invite Members: Add users by email with admin permissions
Settings Tab
Configure the identity and appearance of your AI Assistant. NameThe name of your assistant.
Enter a description (optional).
- Delete this assistant: Once you delete an assistant, there is no going back. Please be certain.
Best Practices
1. Start Simple
Begin with a focused assistant that does one thing well, then expand over time.
2. Quality Knowledge
- Upload accurate, up-to-date information
- Organize content logically
- Include examples and use cases
- Regular content updates
3. Clear Boundaries
- Define what your assistant can and cannot do
- Set appropriate escalation paths
- Include disclaimers when necessary
- Respect privacy and security
4. Continuous Improvement
- Monitor usage and feedback
- Identify common questions and gaps
- Update knowledge base regularly
- Refine personality and behavior
Common Issues and Solutions
Assistant gives generic responses
Assistant gives generic responses
- Check that your knowledge base has relevant content
- Review and improve content quality
- Adjust response settings for more specificity
Assistant doesn't understand questions
Assistant doesn't understand questions
- Add more diverse examples to your knowledge base
- Include common question variations
- Test with different phrasings
Responses are too long/short
Responses are too long/short
- Adjust the max_response_length setting
- Modify the response style (detailed vs concise)
- Review and edit knowledge content
Next Steps
Configure Advanced Settings
Learn about advanced configuration options and fine-tuning.
Deploy Your Assistant
Detailed guide to deploying your assistant to different platforms.
Add MCP Integrations
Connect your assistant to external tools and data sources.
Monitor Performance
Track how your assistant is performing and identify improvements.